
My New Editing PC - April 2015
Having a powerful editing PC is important for photography, it's even more important if you do any sort of video work due to the compounding of rendering and editing times. Whilst many photographers recommend Apple Mac computers for editing work, these days, both Macs and Windows based PCs use the same fundamental software such as Lightroom and Photoshop for image editing, and as a result, both provide very similar experiences and results. I wholeheartedly recommend Macs for those who are after convenience over value, however, for desktops, the best performance and the best value still comes from self-built PCs.
Today we'll be taking a break from the usual photographic related content to discuss my new PC build and where I believe the bang for the buck marks lie today, as of April 2015. My PC configuration is based around the Intel X99 platform, their enthusiast grade platform, which offers more performance and upgradability than their mainstream, consumer Z97 platform.
My recommended CPU for the X99 platform is the Intel Core i7 5820K (around $400), which features 6 cores, 12 logical processors (through Hyper Threading) and clocks in at 3.30 GHz. Compared to the more expensive (around $600) 5930K, it loses some PCIe lanes, which are important if you're looking to run multiple graphics cards or other expansion cards such as storage. The most expensive ($1300) Intel X99 CPU is the 5960X, which is an 8 core, 16 logical processor beast which will offer the best performance available on Intel's non-enterprise platforms, but offer only around a 33% performance improvement over the 5820K, for around a 150% increase in cost, making it terribly bad value at the moment.
My recommended CPU for the X99 platform is the Intel Core i7 5820K (around $400), which features 6 cores, 12 logical processors (through Hyper Threading) and clocks in at 3.30 GHz. Compared to the more expensive (around $600) 5930K, it loses some PCIe lanes, which are important if you're looking to run multiple graphics cards or other expansion cards such as storage. The most expensive ($1300) Intel X99 CPU is the 5960X, which is an 8 core, 16 logical processor beast which will offer the best performance available on Intel's non-enterprise platforms, but offer only around a 33% performance improvement over the 5820K, for around a 150% increase in cost, making it terribly bad value at the moment.
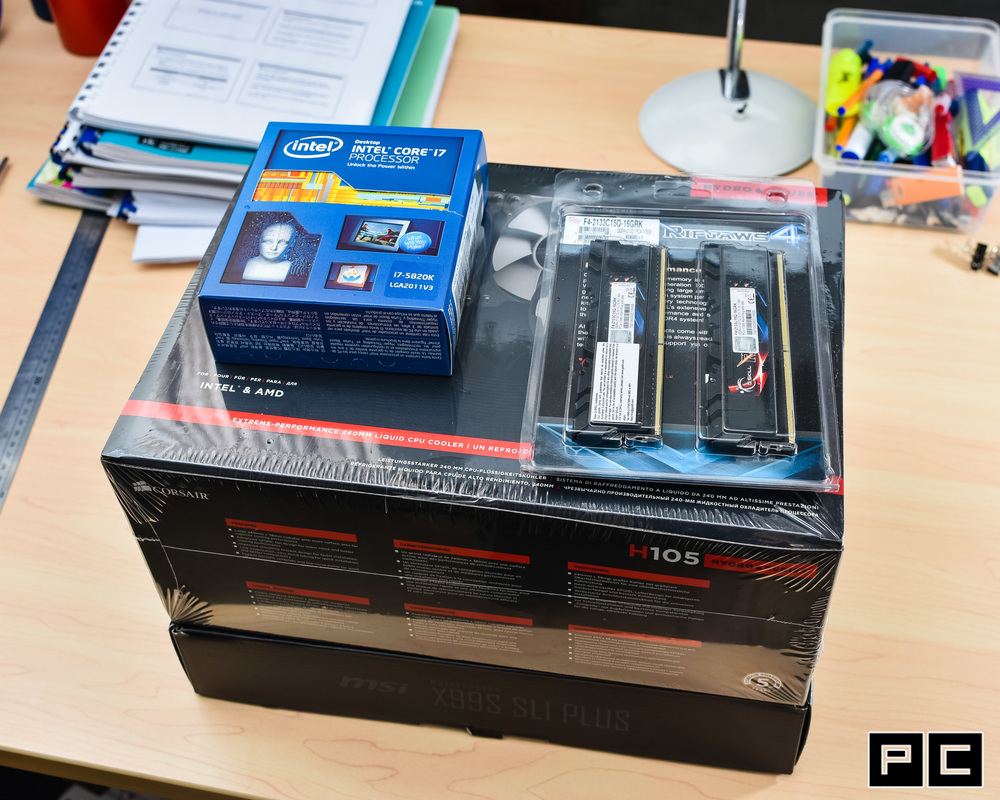
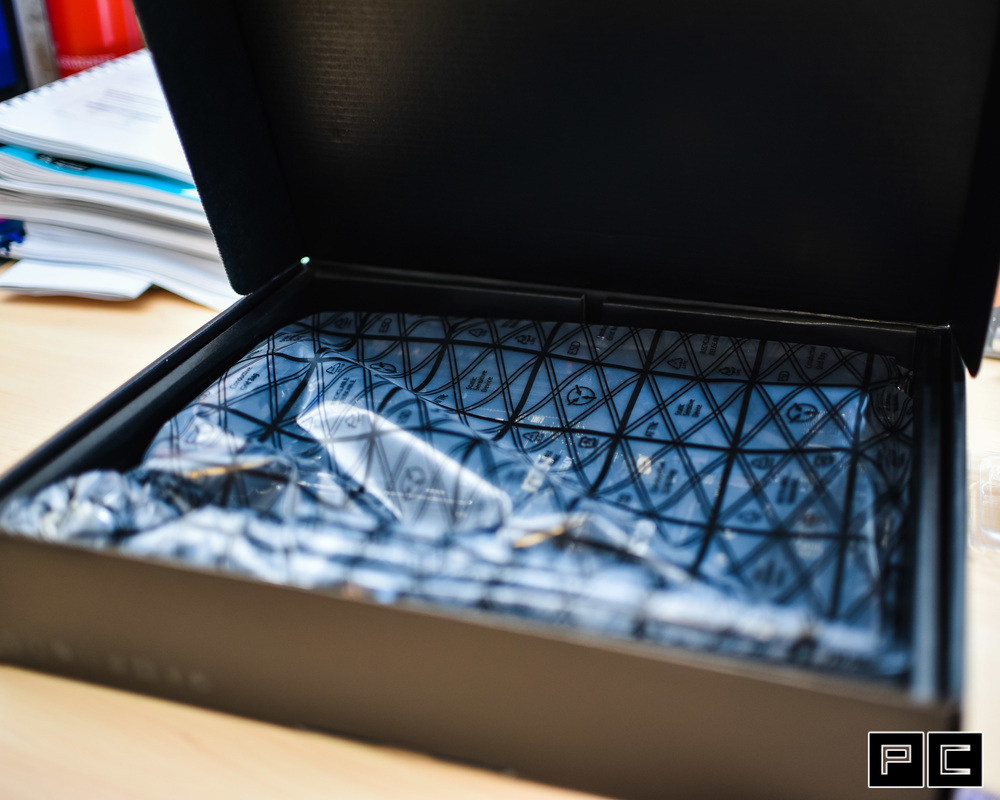
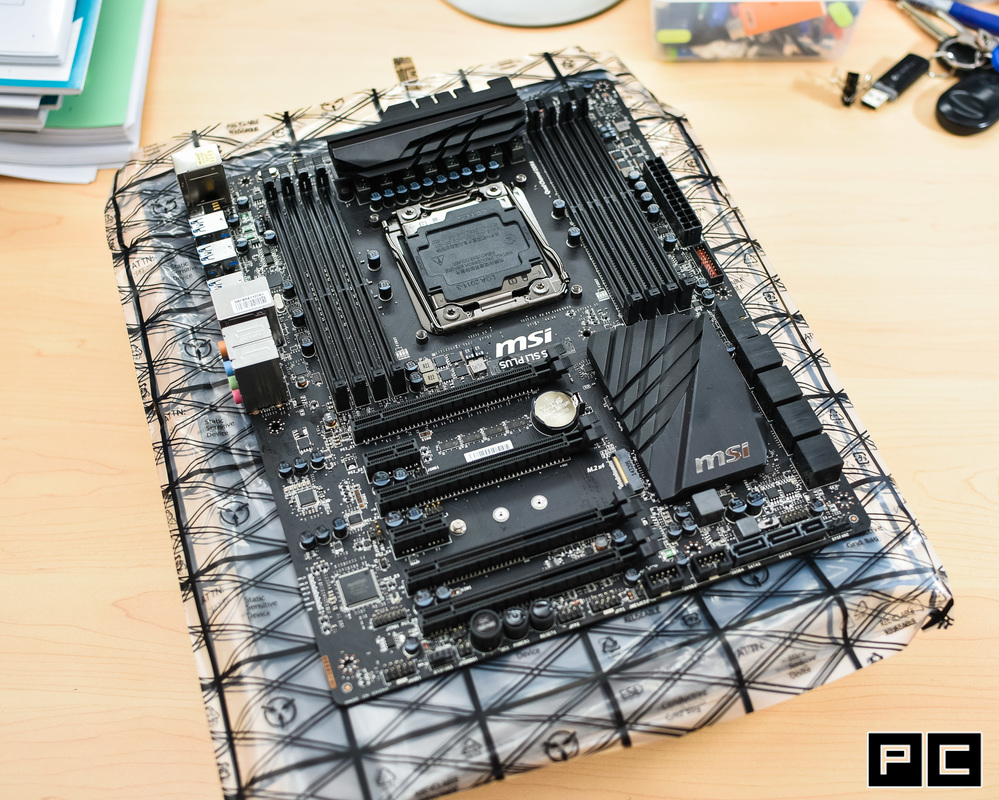
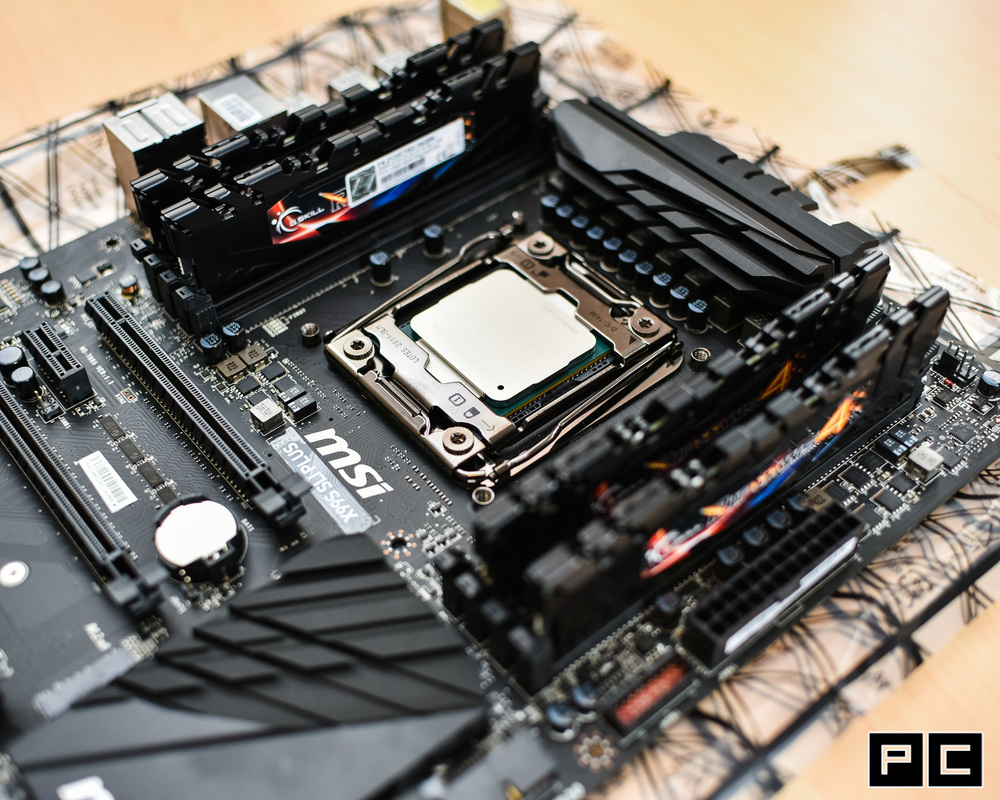
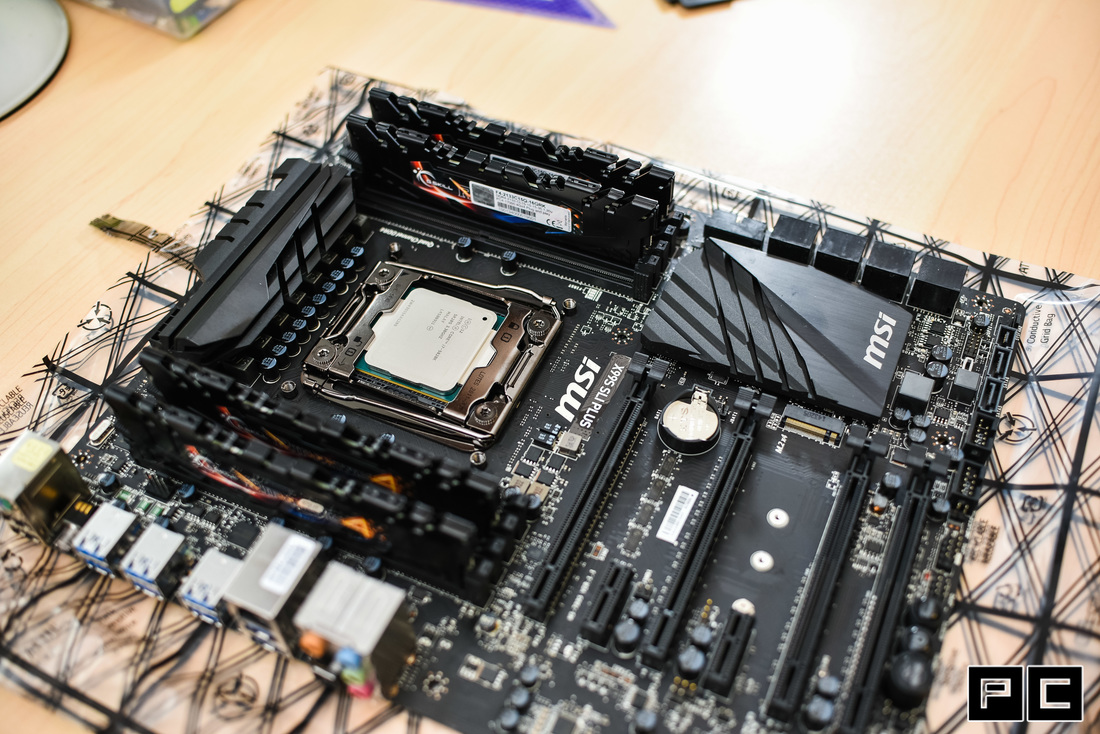
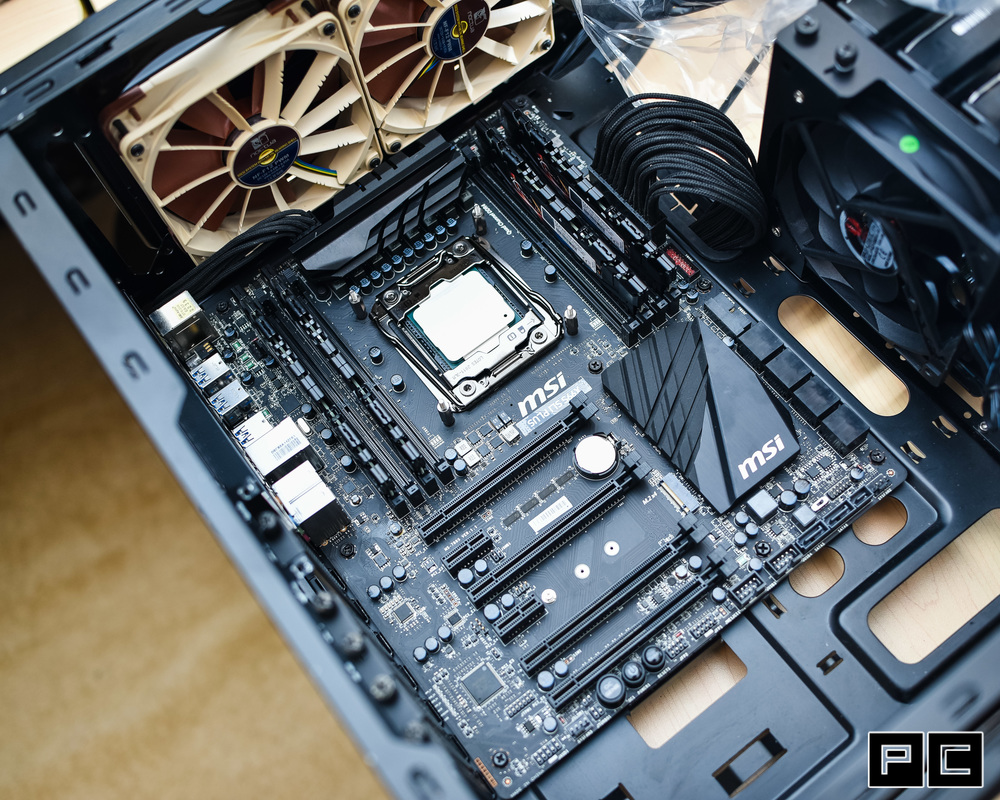
For the motherboard, I'm running an MSI X99S SLI Plus, which is a great value X99 motherboard with all the advanced features most users would ever need. Compared to other, more flashy X99 boards, this one offers great value because it comes in cheap and it doesn't come with features that you would never use. This allows you to save the cash and spend it on other equipment such as RAM or hard disk space which are far more important than marginal features on expensive motherboards which you'll most likely never touch. The board looks great with its all black aesthetic and has been more than reliable thus far.
I went with my most recommended CPU for the platform, the 5820K. For the price, this little guy is great, because it doesn't cost much more than consumer standard chips such as the Intel 4790K, but completely blows them out of the water. Based on the same architecture as the 4790K, the 5820K features more cores (6 instead of 4) allowing for 6 parallel operations rather than just 4, meaning that for highly optimised workloads such as video rendering, the 5820K will show a distinct advantage.
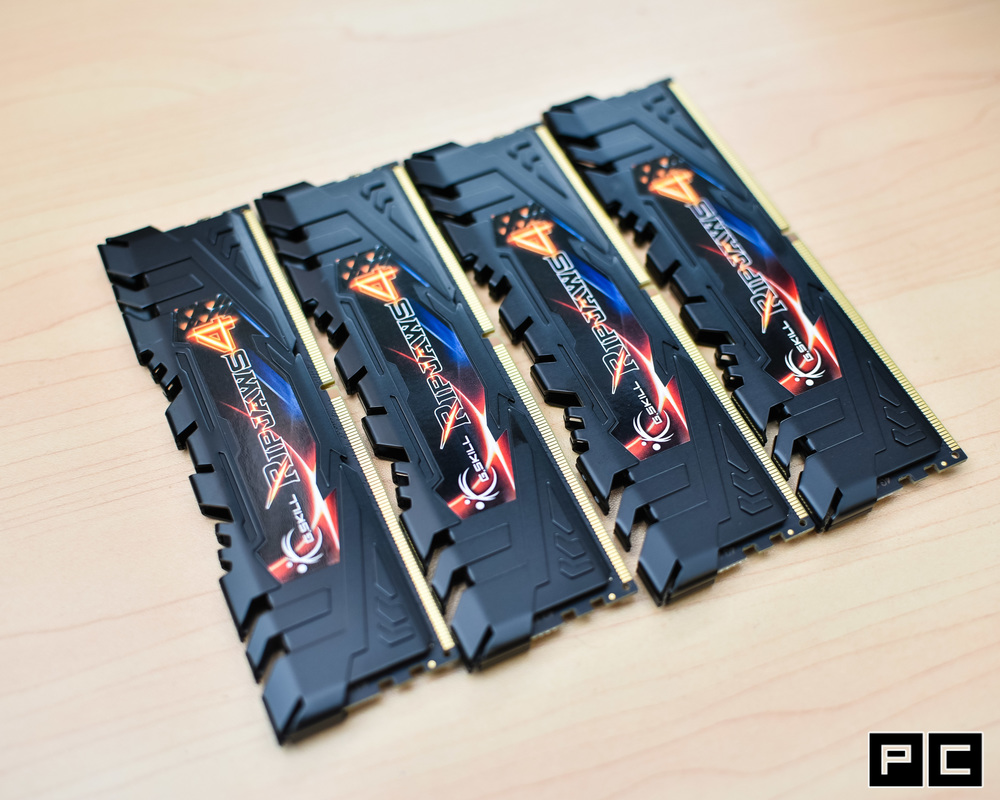
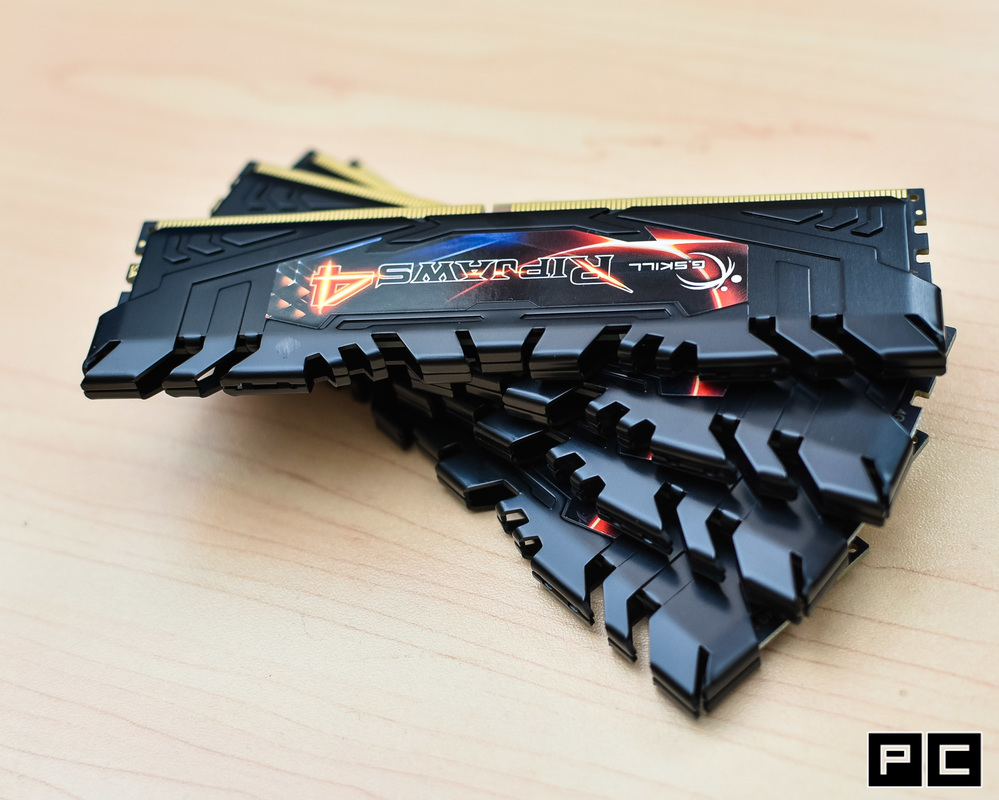
16GB of DDR4 RAM was paired with this configuration to round it out nicely. In hindsight, 32GB of RAM would have been a better choice, however, given the higher price of DDR4 at the moment, I think 16GB is more than a sensible choice and any extra RAM would not have benefited the system in most tasks in a meaningful way at the moment. In the future, when DDR4 prices are cheaper and when applications are programmed to take advantage of extra RAM available, then perhaps an upgrade will be worthwhile.
16GB of DDR4 RAM was paired with this configuration to round it out nicely. In hindsight, 32GB of RAM would have been a better choice, however, given the higher price of DDR4 at the moment, I think 16GB is more than a sensible choice and any extra RAM would not have benefited the system in most tasks in a meaningful way at the moment. In the future, when DDR4 prices are cheaper and when applications are programmed to take advantage of extra RAM available, then perhaps an upgrade will be worthwhile.
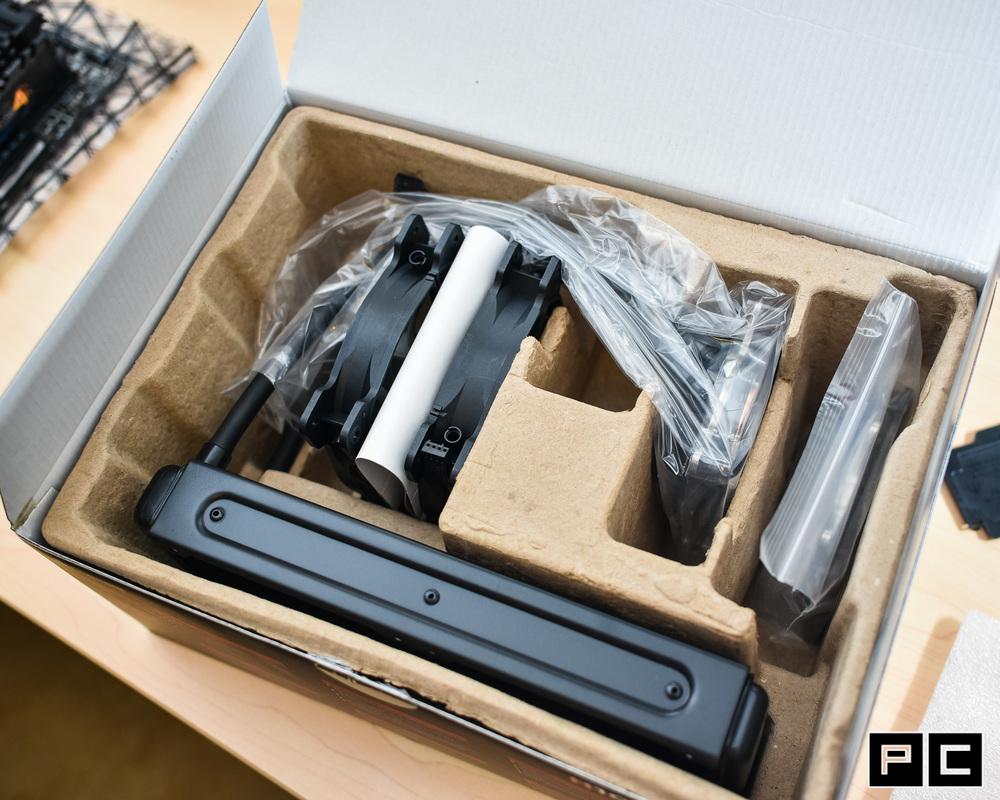
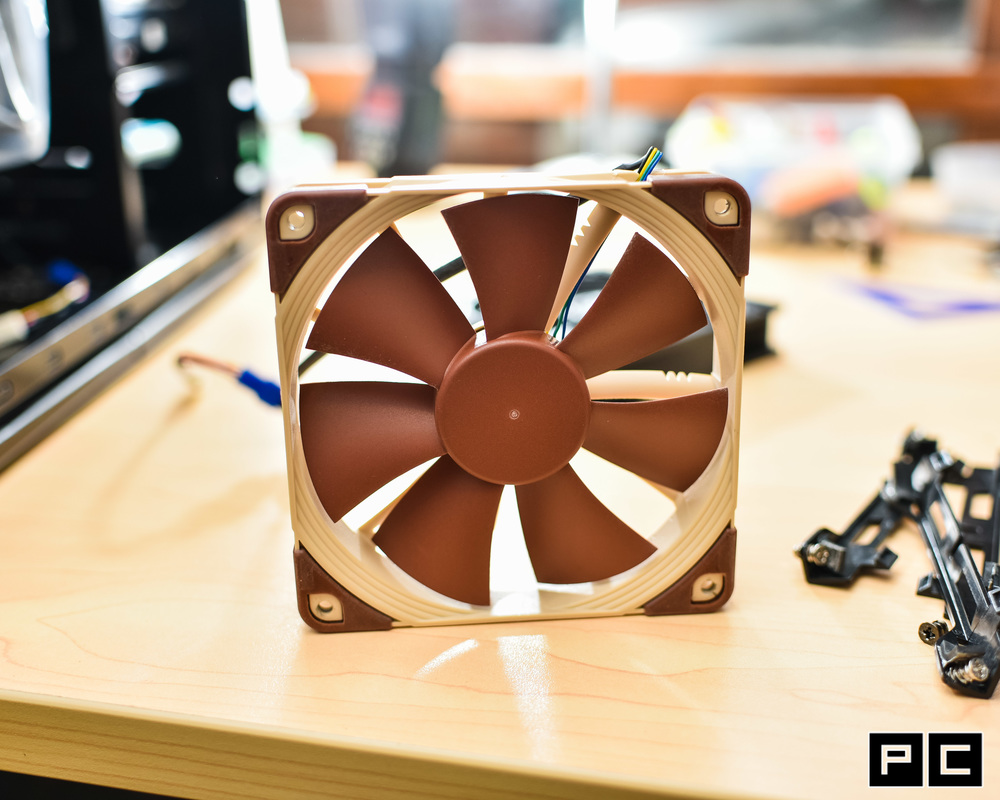
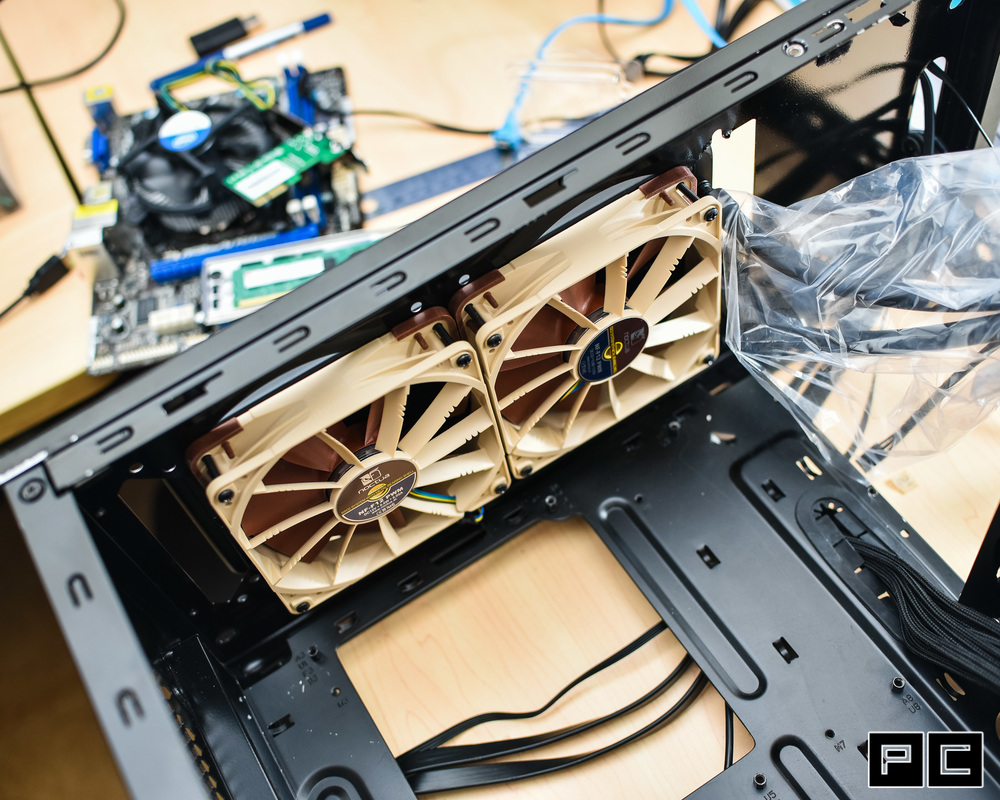
For cooling, a Corsair H105 does the trick. Whilst I mostly still recommend air cooling for most people, with the best air coolers such as the Noctua NH-D15 still offering better performance than many all-in-one (AIO) liquid coolers, they are often larger, more difficult to install and work with and generally, tend to have a less pleasing aesthetic compared to AIO liquid coolers. I used to run a fully custom water cooling loop, but to maintain and build such a system requires much more time and patience than I usually have and whilst great for enthusiasts looking to have fun, from a practical standpoint, the AIO liquid coolers offer almost as good performance for much less time and cost invested. I paired the H105 with Noctua NF-F12 fans, known for their silence and reliability.
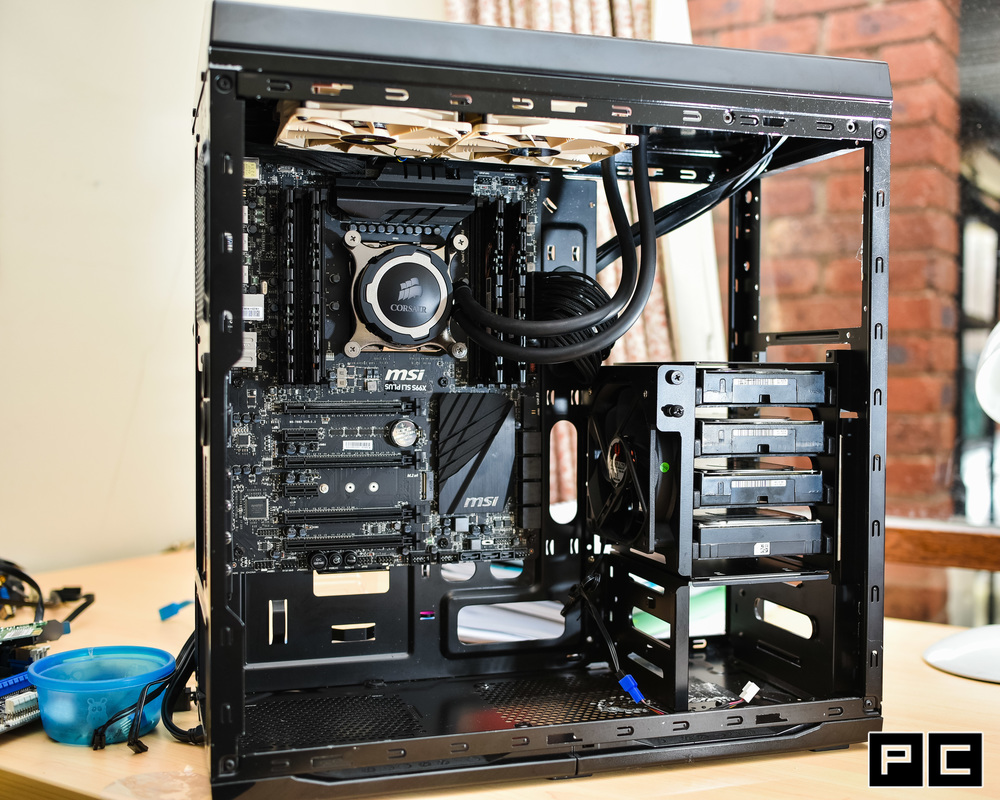
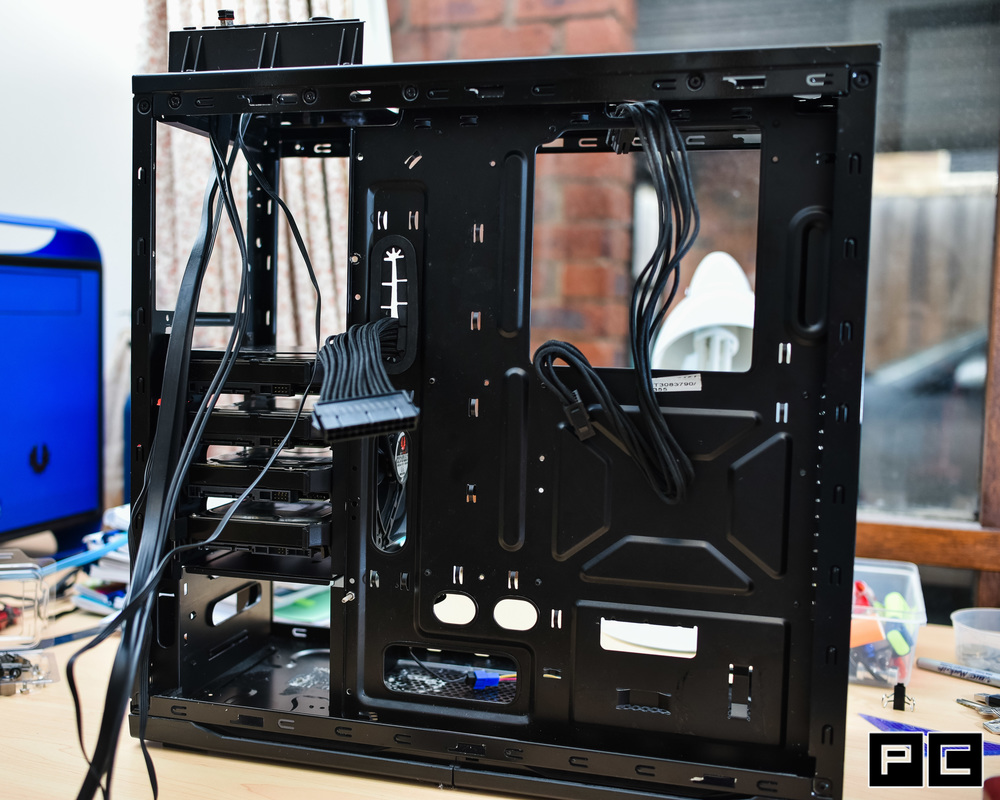
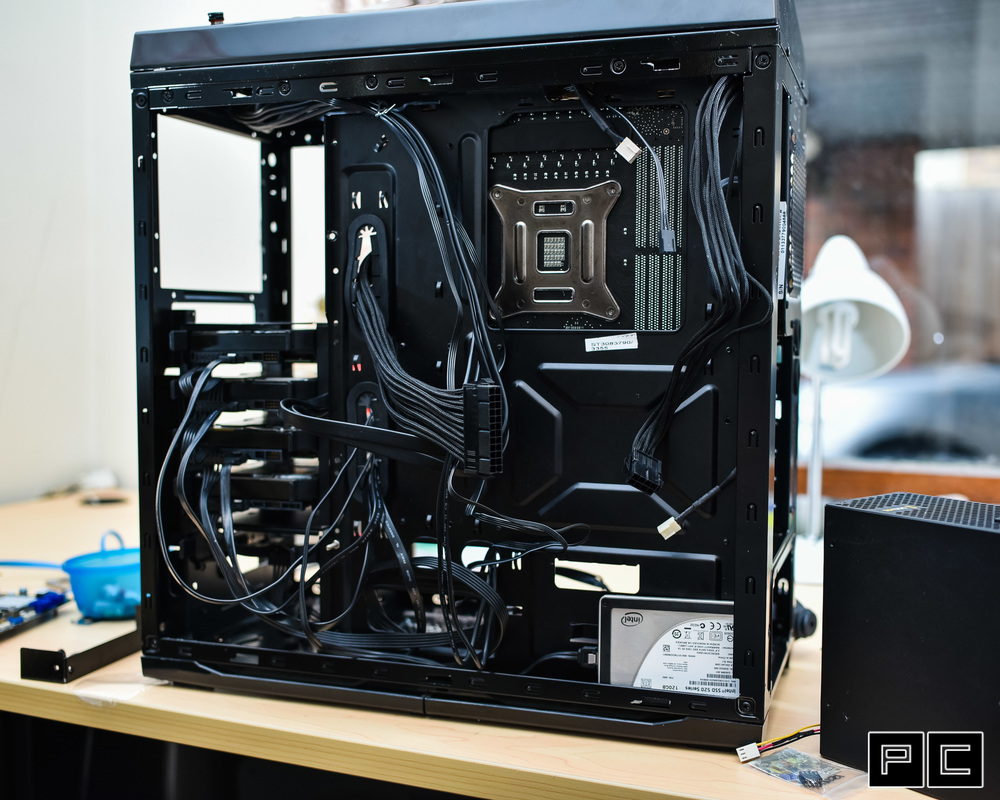
The installation process was relatively simple. I'll be reusing a case which previously held my storage server. As of this build, I will no longer be running an external storage server and all storage will be handled locally, so I began with removing the old components and cleaning the case to prepare it for this new build. Most of the server hardware was just recycled hardware from a defunct build, so that hardware will probably be relegated to performing other tasks, such as a hosting a web server or other small projects. Here's a before and after shot of the case with all the hardware (note that the after shot is taken of the back of the case, i.e. on the opposite side).
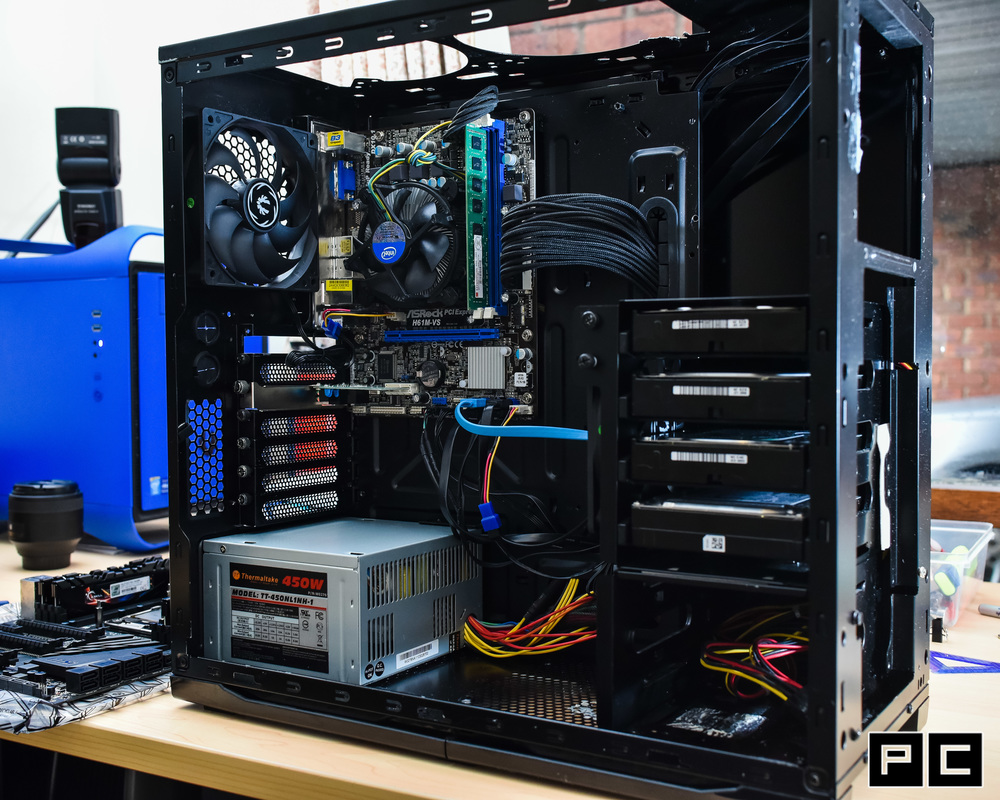
After cleaning out the case, I installed the CPU and RAM onto the new motherboard and prepared the motherboard and case for installation, including attaching cables which I perceived would be hard to install later on.
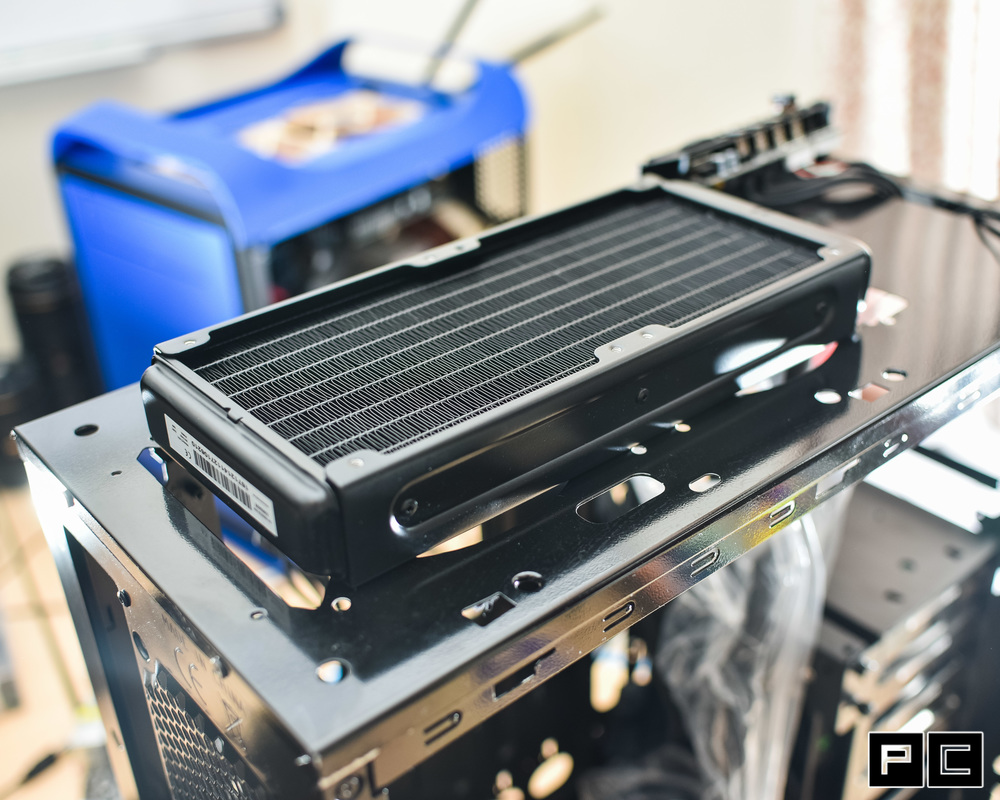
The case was prepared simply by pre-installing the radiator for the Corsair H105 cooler so that it is able to be quickly mounted onto the CPU as soon as the motherboard is installed. Generally, it is always easier to mount as much as possible to the case before installing the motherboard so that you have easier access to the more difficult to get to places, some of which are absolutely impossible to access after the motherboard is installed.
After installing the cooler into the case, it's easy to drop the motherboard in place and screw in the screws to hold the motherboard in place. I also attached the wires which I pre-routed whilst preparing the case. Having experience in building systems allows you to know what order to do things in so that you can maximise efficiency. You don't want to start wiring things too early because more often than not, you'll have to take them out to fit other things, but on the flip side, leaving it too late means that it's often harder to access the places you need to access since there's more clutter.
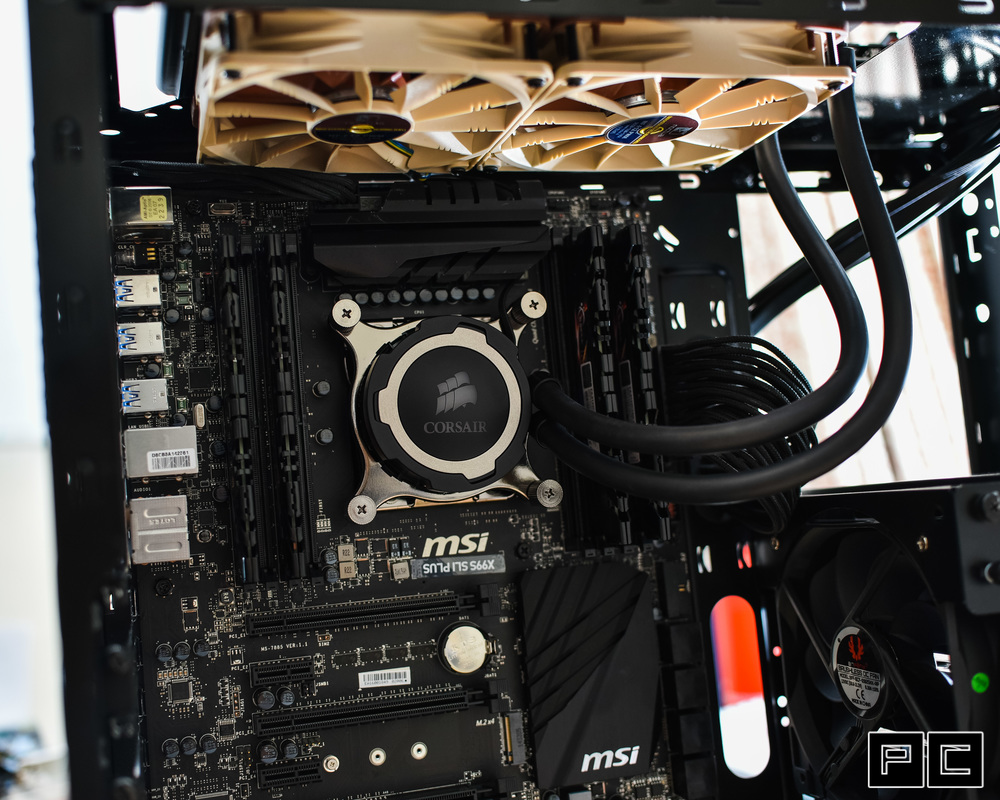
Now that the motherboard is installed and all the pre-wired cables were successfully connected, I mounted the cooler onto the CPU and prepared to install some other components such as the power supply and the hard drive SATA (data) cables.
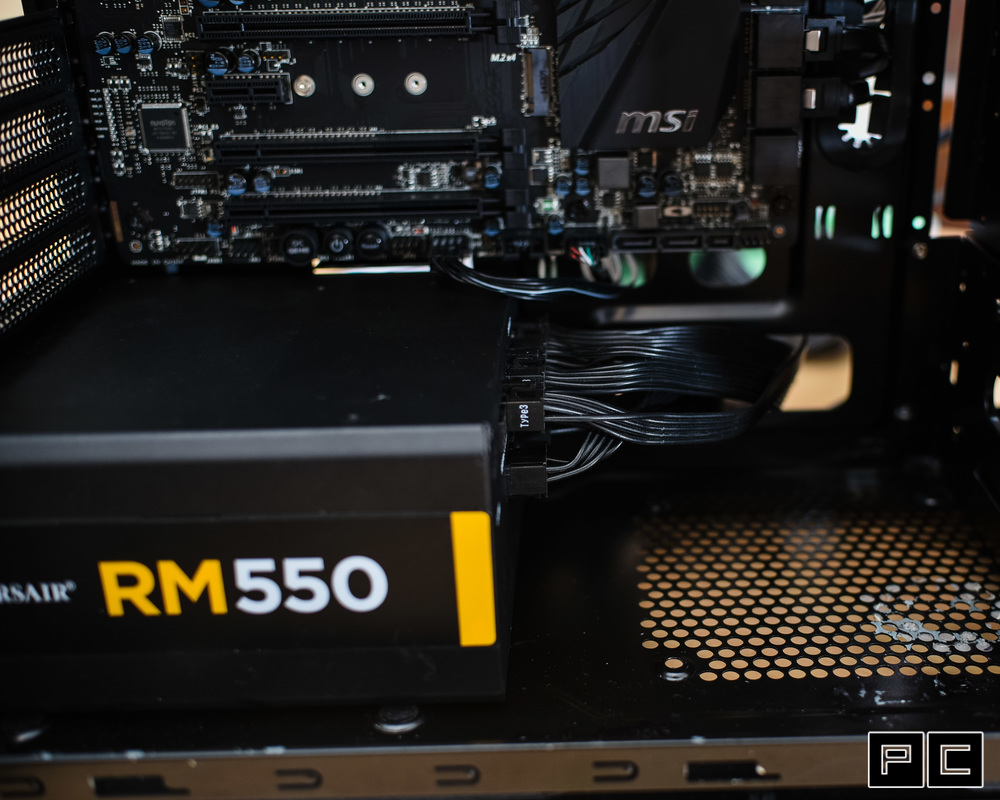
Now that almost everything is in, I've reorganised the wires around the back and prepared to install the power supply unit (PSU) by running the appropriate leads to the inlet for the PSU, so all I have to do is drop it in and connect it up to the wires which I have already laid in place.
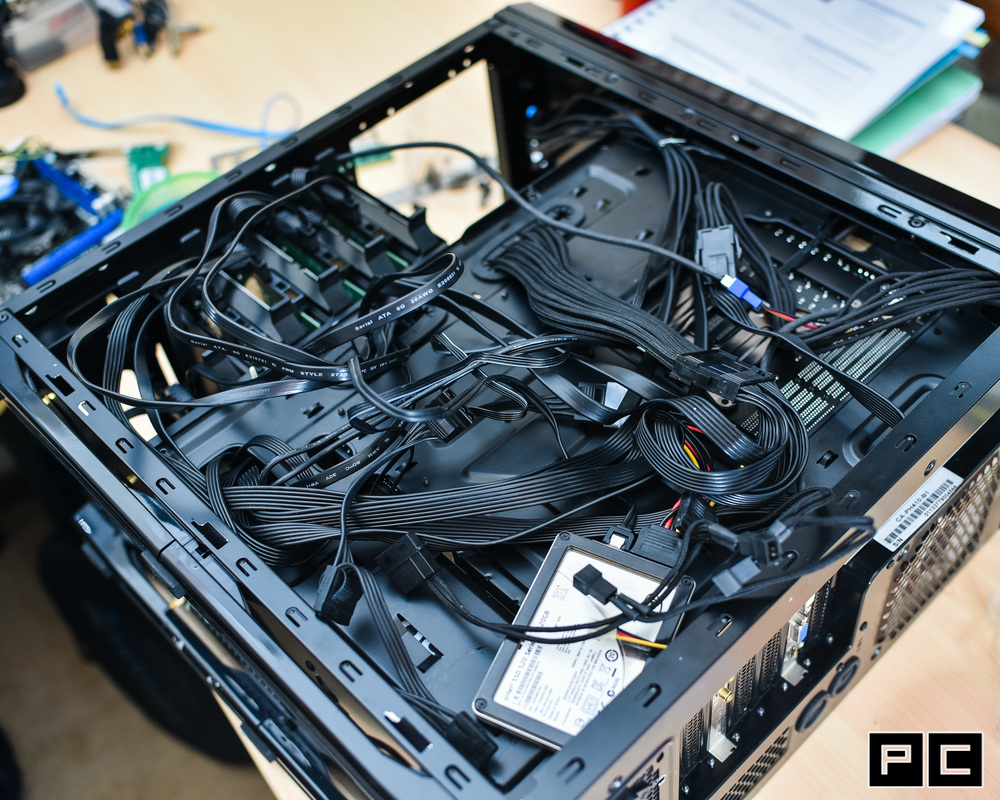
Time to do some clutter cleaning and re-organisation of some cables which can still be seen from the back side of the case, which is now much more messy due to the cables from the PSU. I then installed a graphics card (GPU) which I had lying around in order to test the system. I'll be buying a new GPU in the coming weeks, but haven't figured out the best one to buy as of yet, so for now, it'll be running with an old GT630 which I use as my general testing card.
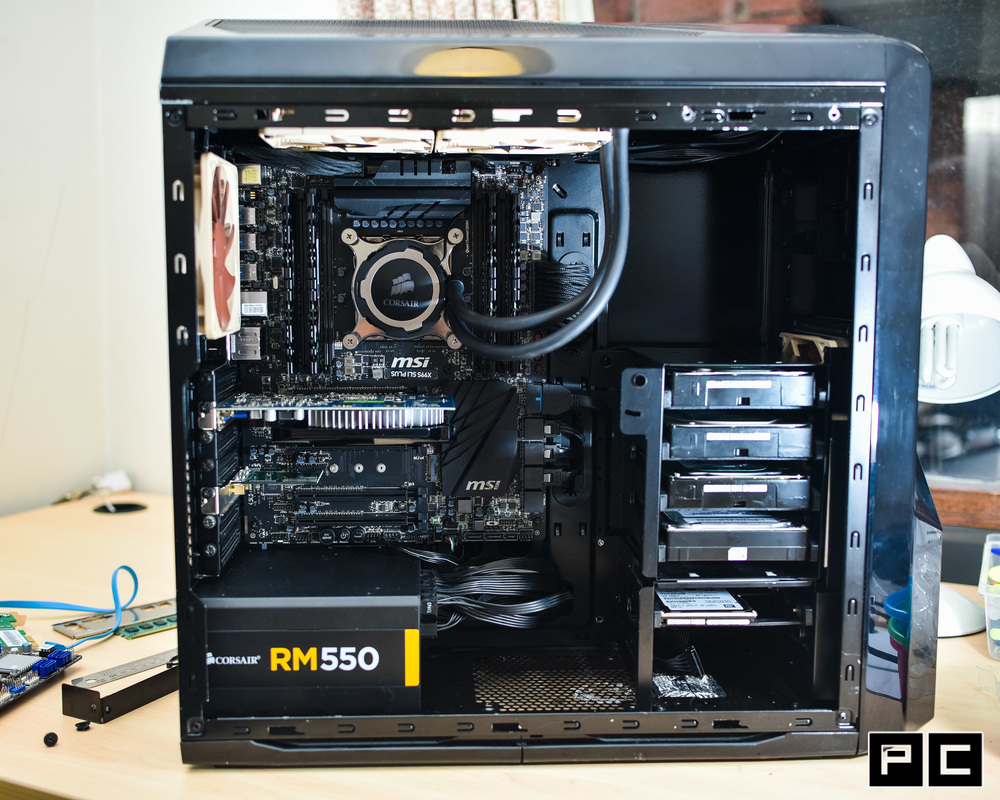
Stay tuned to see the new graphics card get installed and this brand new system face the benchmarks to see how well it holds up against other systems for content creation and other demanding tasks.
